

Company
Getting Started with Pagos: Five Steps to a Seamless Onboarding Process


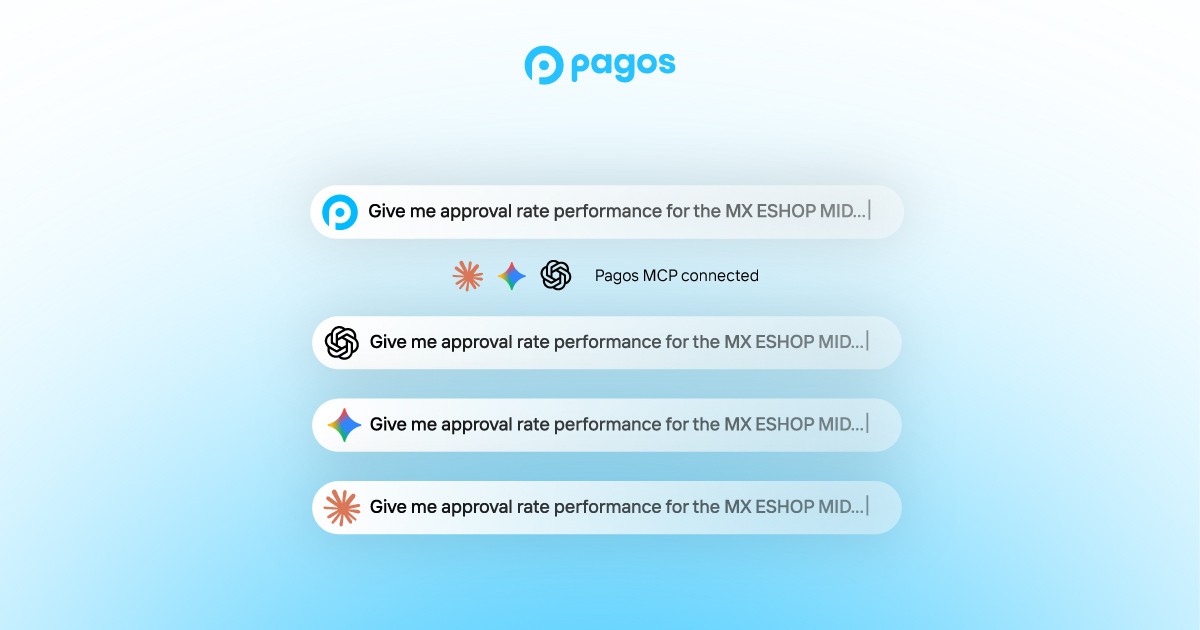
In our last blog post, we explored how our no-code data connections allow you to import payments data directly from your payment service providers (PSPs) into Pagos without any developer involvement. No matter which PSPs you work with—or how many, for that matter—we can import your data, harmonize it, and present it back to you for easy in-house monitoring and analysis.
Today, we’ll expand on this topic by digging into the full process of onboarding with Pagos and getting started with Peacock and Canary. Not only does Pagos simplify payments data ingestion, but we also ensure the process of getting started with our tools is simple and straightforward! All it takes is five simple steps to get off the ground with Pagos Solutions and start taking action to improve your payments performance.
Step 1: Identify Your Data Sources
The first step is a simple one: ensure you have identified all of the payments data sources from which you’d like to import metrics into Peacock and Canary. We have a series of guides walking you through the no-code connection processes for each of the major PSPs; we recommend reviewing these guides and the requirements for each connection before initiating the connection process.
If you don’t see your PSP on this list, don’t worry! We’re actively working on no-code connections for Klarna, Kount, American Express, and more. In the mean time, you can always use our Data Ingest API to directly integrate with any PSP you want while maintaining full control over the data you import to Pagos. Check out our documentation to learn more about the Data Ingest API or contact us to discuss your setup.
Step 2: Perform Security Checks
Customer data and security are at the heart of all we do. We understand data security is a crucial concern for all businesses and everyone at Pagos takes this issue seriously. Pagos does not process payments directly or store personally indentifiable information (PII) data. Where PII might reach us, we’ve implemented processes to hash and delete it. For more information about our commitment to PCI compliance, see our Security Compliance = A Safer Nest blog post.
Given your own commitment to security, it’s highly likely you have network restrictions or firewalls in place to protect your domains. Based on your network and domain permissions requirements, we’ll need you to allowlist the Pagos domains and IP addresses. Doing so will ensure you can always successfully sign into your Pagos account and import data from your PSPs. For a full list of the Pagos domains and IP addresses, see our Product Documentation.
One more important thing to note here: you are always in control of the data sources you connect to Pagos and the exact data you import into our products. Should your security and compliance needs ever change, you can always remove data connections and any associated API keys or webhooks. We are also happy to support any information security processes you require; contact us to begin this process.
Step 3: Set Up Your Pagos Account and Initiate Your No-Code Data Connections
Now that you’ve confirmed your data sources and performed your security checks, it’s time to set up your Pagos account. Sign up for an account here, then select the birds you wish to use. From there, you’ll complete the no-code data connection processes outlined in the guides linked above.
In many cases, you can connect your payments data to Pagos independently. Depending on your payment processor, however, you may need to engage your Account team to send required files. This is still no-code, but requires engagement to set up file transfer. Please reach out to us at any time if you need additional support.
Step 4: Invite Your Team
After you connect your data sources and import payments data into Pagos, you’ll begin to see events populate in your Peacock Dashboards and you’ll be ready to use Canary to monitor metrics. Now we recommend you invite your team to join your Pagos account so you can collaborate within these powerful tools.
All types of users benefit from Peacock and Canary - invite your fraud managers, payments product owners, chargeback teams, finance teams, risk teams, and more. We recommend working with your Pagos Account Management team if you have any questions or want to set up an internal training.
Step 5: Time to Fly!
Congratulations! You’ve successfully connected your data, invited your teammates to collaborate, and are now ready to find actionable insights in your payments data. For additional support getting started, head over to the Pagos Product Documentation where we’ll walk you through specific workflows in our service panels. For example, learn how to configure a Canary trigger or build a custom dashboard in Peacock. We also recommend subscribing to our blog, where we break down important industry news and dig deep into Pagos product features, such as Peacock’s data download capabilities.
Remember, you can always add new data connections should you introduce additional processing partners in future and want to use Peacock and Canary to monitor or benchmark their performance. Oh and one more thing: never hesitate to contact us if you need additional support or assistance. Your experienced and supportive Pagos Account Team is here to help you every step of the way.
Are you ready to get started?

By submitting, you are providing your consent for future communication in accordance with the Pagos Privacy Policy.